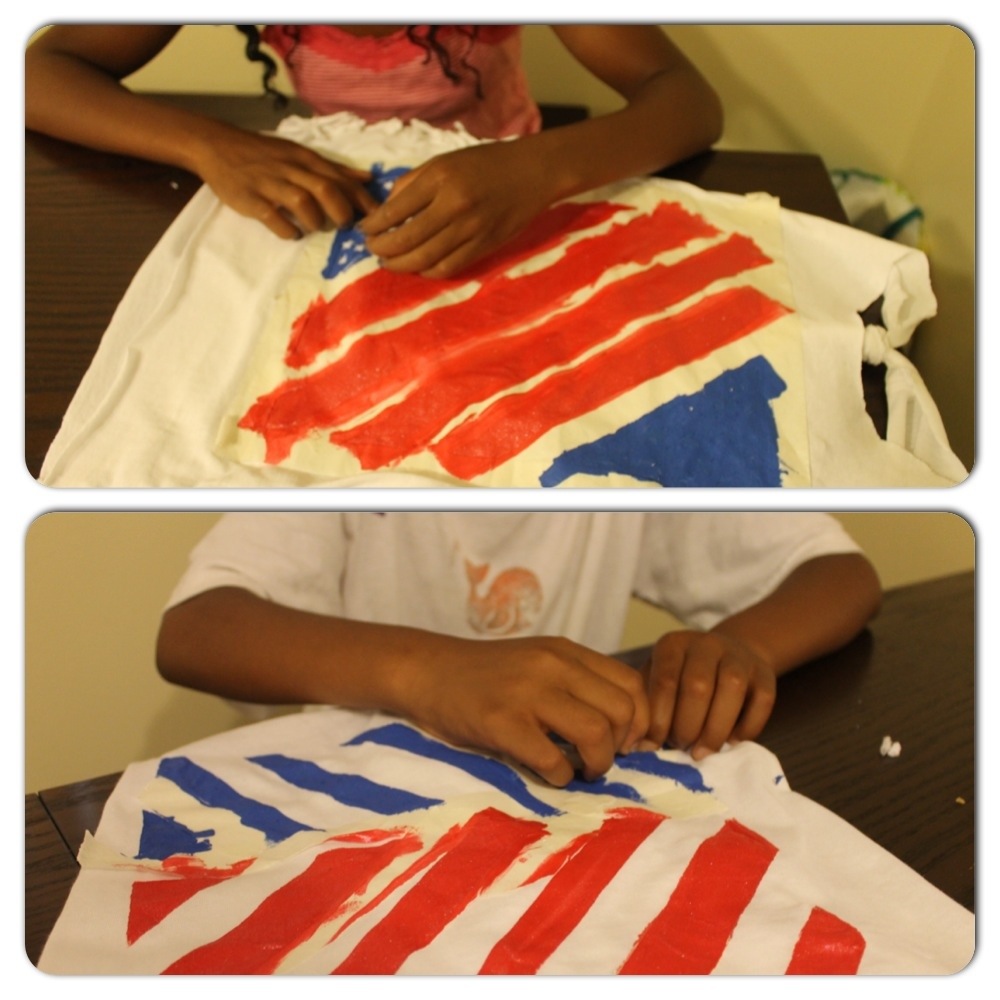
Day two of working on the girls shirts.
We let the paint dry overnight
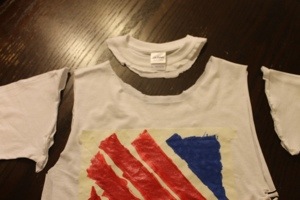
To make this shirt into a tank top we grabbed the scissors and started cutting
We cut the sleeves and around the collar like so
I forgot to take a picture, however, I did cut along the seam of the bottom of the shirt.
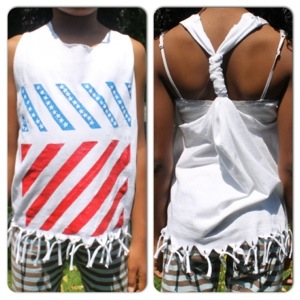
I then, cut that seam open and used it to tie that back of the shirt like so
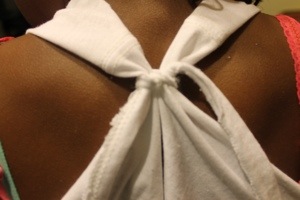
I first tied a knot to secure the shirt together, and then I wrapped the seam piece around until I felt it was secure enough then triple knot the seam and cut off any excess fabric.
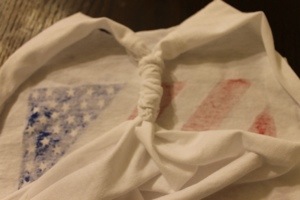
The girls wanted different types of shirts so for one daughter, we are doing the knots on the sides
I cut about a half in inch on each side of the shirt
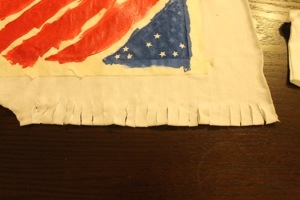
Then I went back and cut through each piece
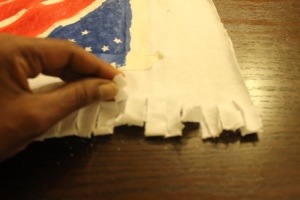
Once all cut, I tied a knot with every two pieces that went together like I would tied my shoe laces.
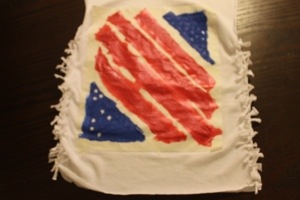
She is Done!
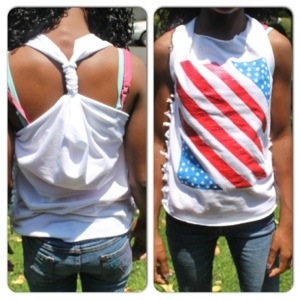
For the other daughter we did fringes.
On this shirt I cut up the bottom of this shirt. I stopped just before the design.
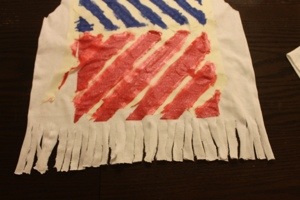
Then I stretched out each pieces. Making the pieces a little longer
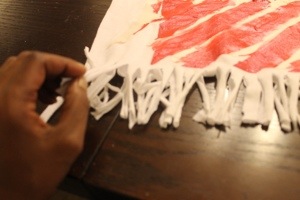
Now I tie every two pieces that are next to each other, together. I do a double tie, again like I would tie my shoes.
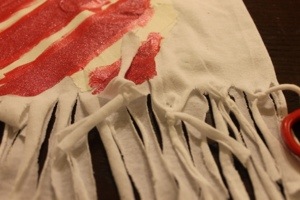
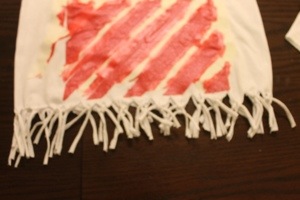
And she is Done!
Here is the link on instructions on how we decorated the shirts
We are ready for the 4th!!! How About you?