Skip to content
A few years ago I came across this neat idea on Pinterest, on how to make an earring holder out of things I had laying around my house. I’ve share this idea several times during my craft parties. It’s a popular craft.
With the holidays approaching, I thought it would be a good time to share this simple yet inexpensive craft that anyone can make on their own.
You will need:
- Picture Frame
- Fabric or Scrap Paper
- Mesh Material (Found at Home Depot)
- Sponge Brush
- Scissors or a Rotary Cutter
- Modge Podge or Hot Glue Gun (Not Pictured)

Step 1: Separate the frame pieces.

Step 2: Measure by placing the frame onto your fabric and cutting around the frame.

Step 3: Cut out the fabric, leaving some extra fabric around the frame.

Step 4: Line your cut fabric piece up with your mesh material and cut accordingly.
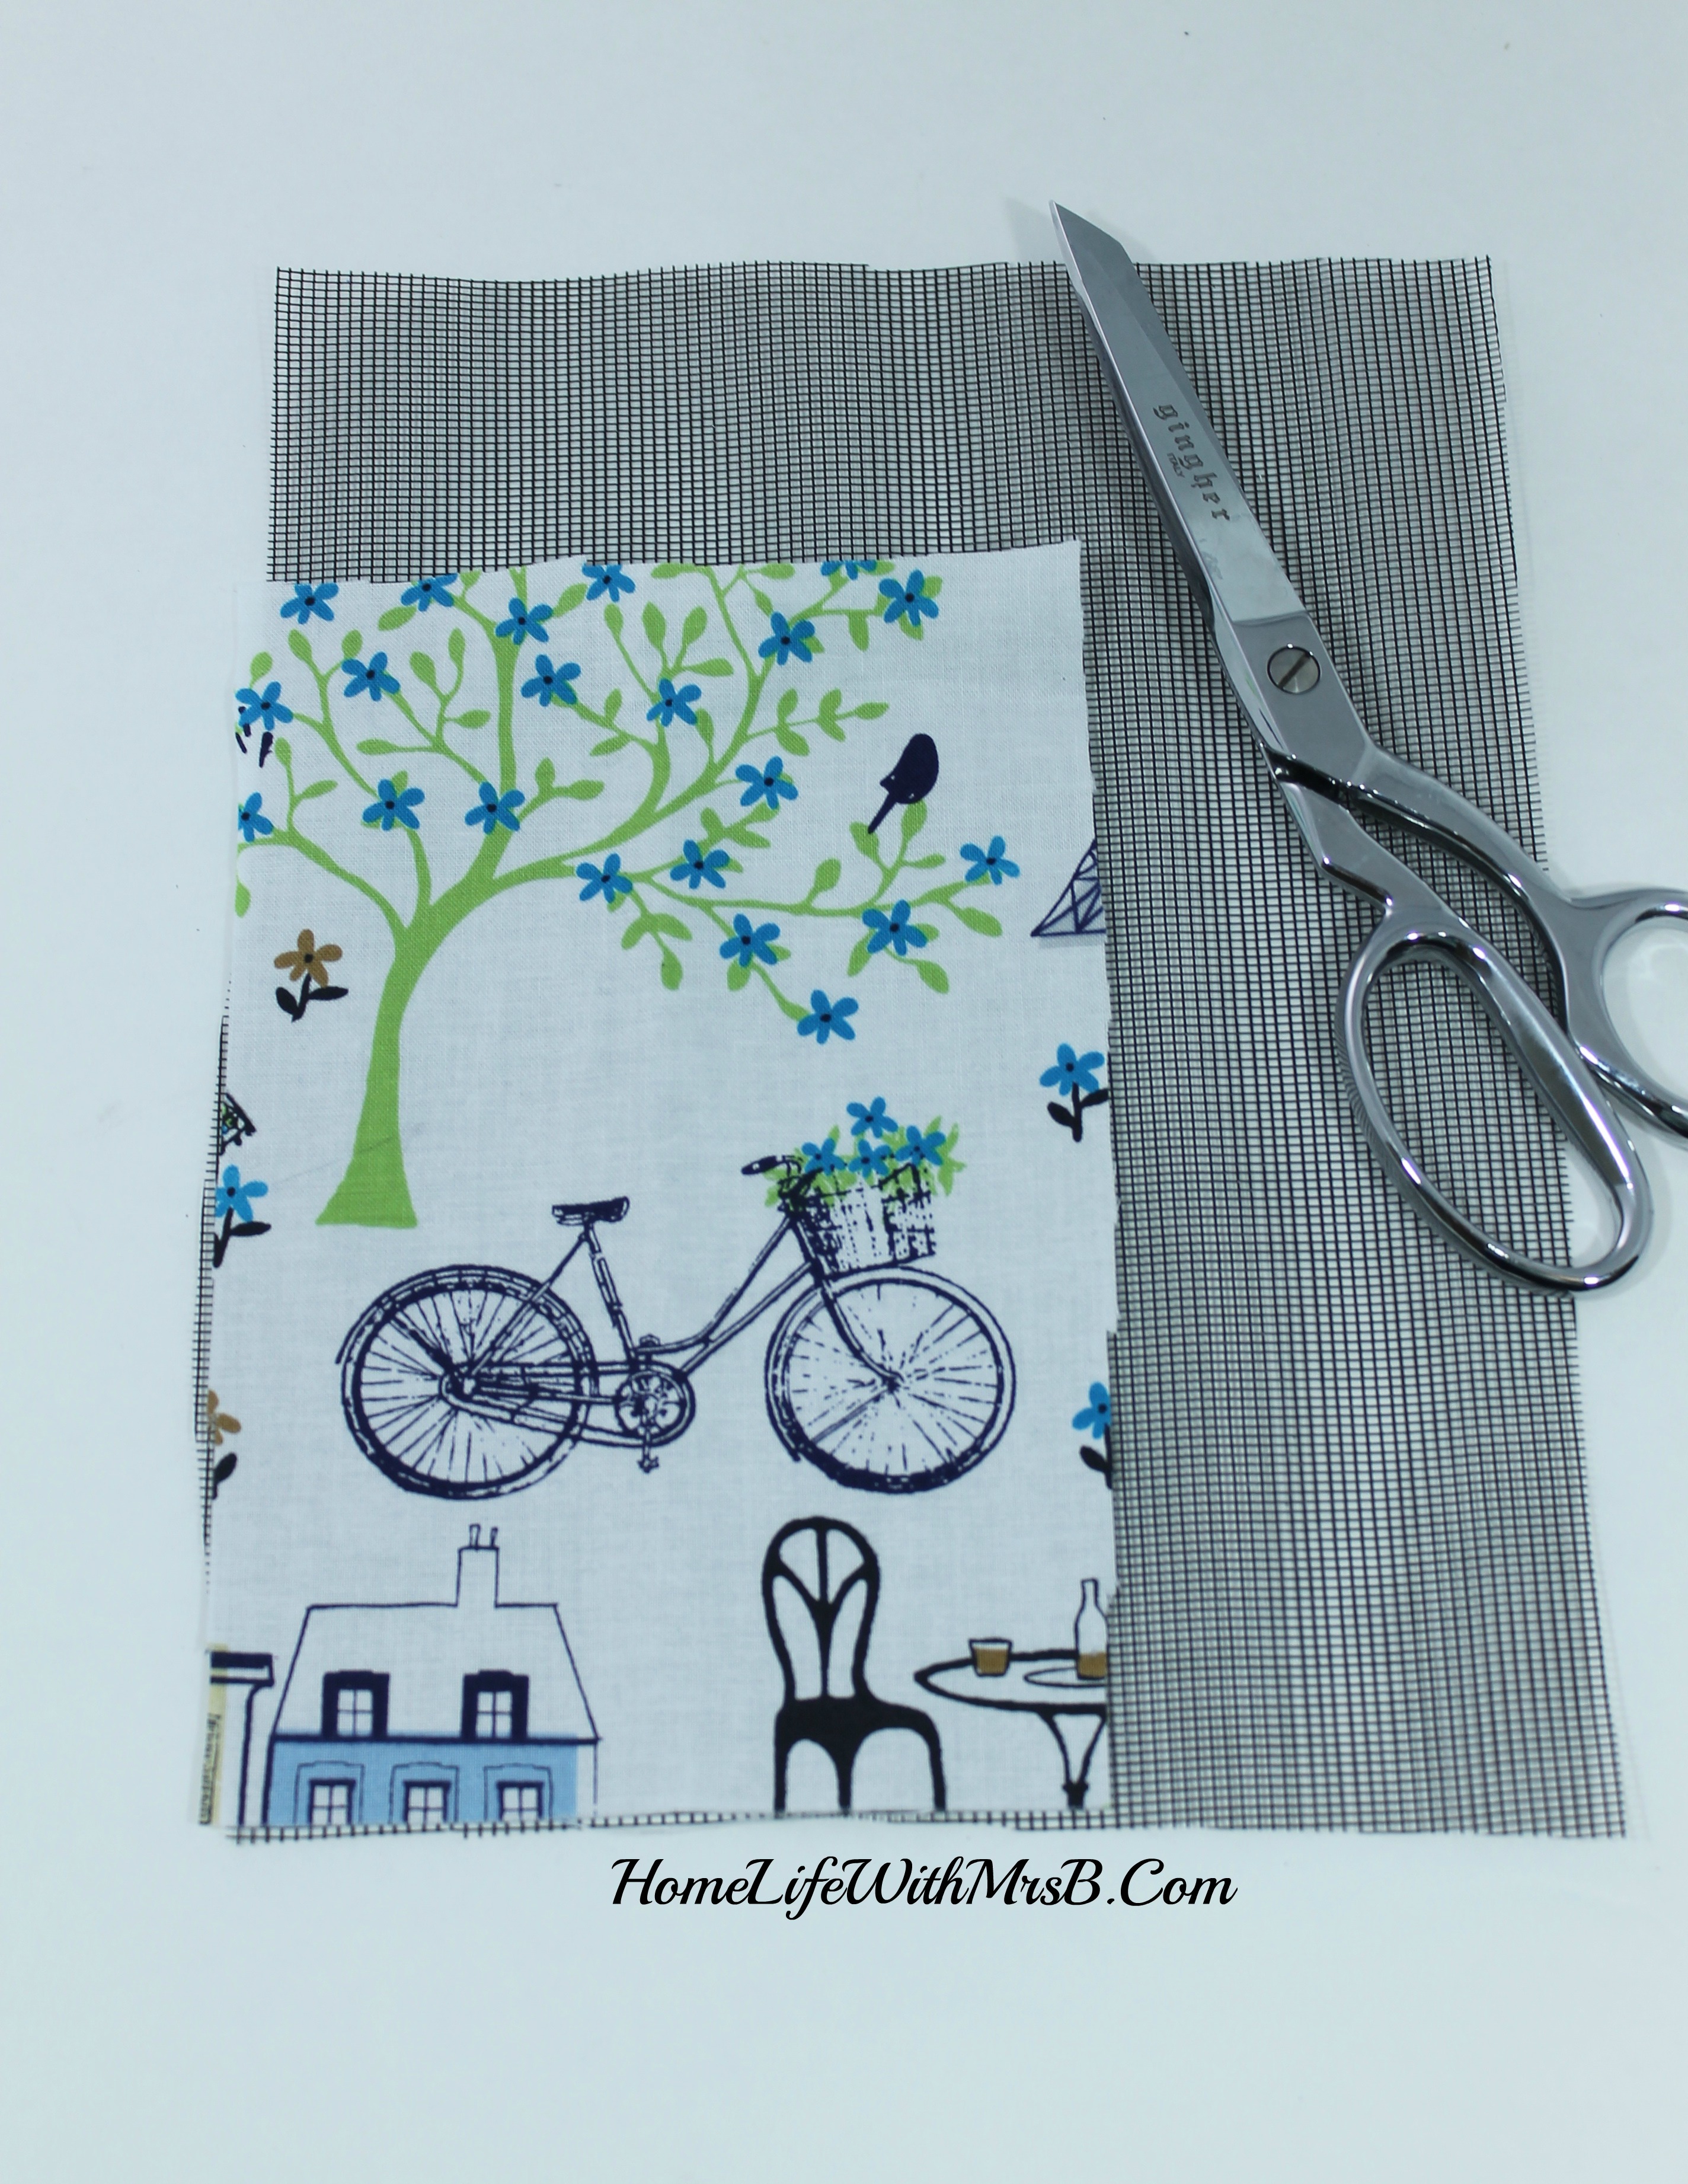
Step 5: Now, grab you Modge Podge or hot glue gun, and glue your fabric onto the backing of your frame.

Step 6: Fit the mesh piece into the frame and add your fabric backing. Cut off any excess mesh and fabric.

And that’s it! Your finished Framed Earring Holder is done!

Isn’t this idea a cute way to have one’s earrings on display?
An awesome gift idea for the up and coming holidays!
Scroll back to top
This is a cute idea and your tutorial is easy to follow. DD will be getting her ears pierced soon, so we’re looking for ways to keep her earrings neat. Thank you for sharing this, Kesha. God bless and have a lovely day.